
Ceramic coating is a great way to keep your car looking shiny and protected. However, deciding between a DIY kit and hiring a professional service can be challenging. DIY kits seem like a quick, affordable solution, while professional services come with a higher price tag but offer expert results. The truth is that there’s much more to ceramic coating than simply applying a liquid to your car's paint. The way you prepare and apply it significantly impacts how well it performs and how long it lasts.
The Risks of DIY Ceramic Coating
The biggest risk of DIY ceramic coating is improper surface preparation and application. If not done correctly, this can lead to poor adhesion, uneven finishes, and reduced durability, which can lock in paint defects. Professional ceramic coating mitigates these risks by offering thorough Level 3 detailing and a controlled application environment, ensuring longer-lasting protection and a superior finish backed by manufacturer warranties.

Comparing DIY and Professional Ceramic Coating
DIY ceramic coating kits have gained popularity among vehicle owners looking to protect their cars without spending too much money. These kits generally include a bottle of coating, applicator pads, and simple instructions, costing between $50 and $150. At first glance, this affordability may seem appealing, especially for those who enjoy hands-on projects or want to learn the process themselves. However, while the product may seem straightforward, achieving a flawless finish is not as simple as it appears.
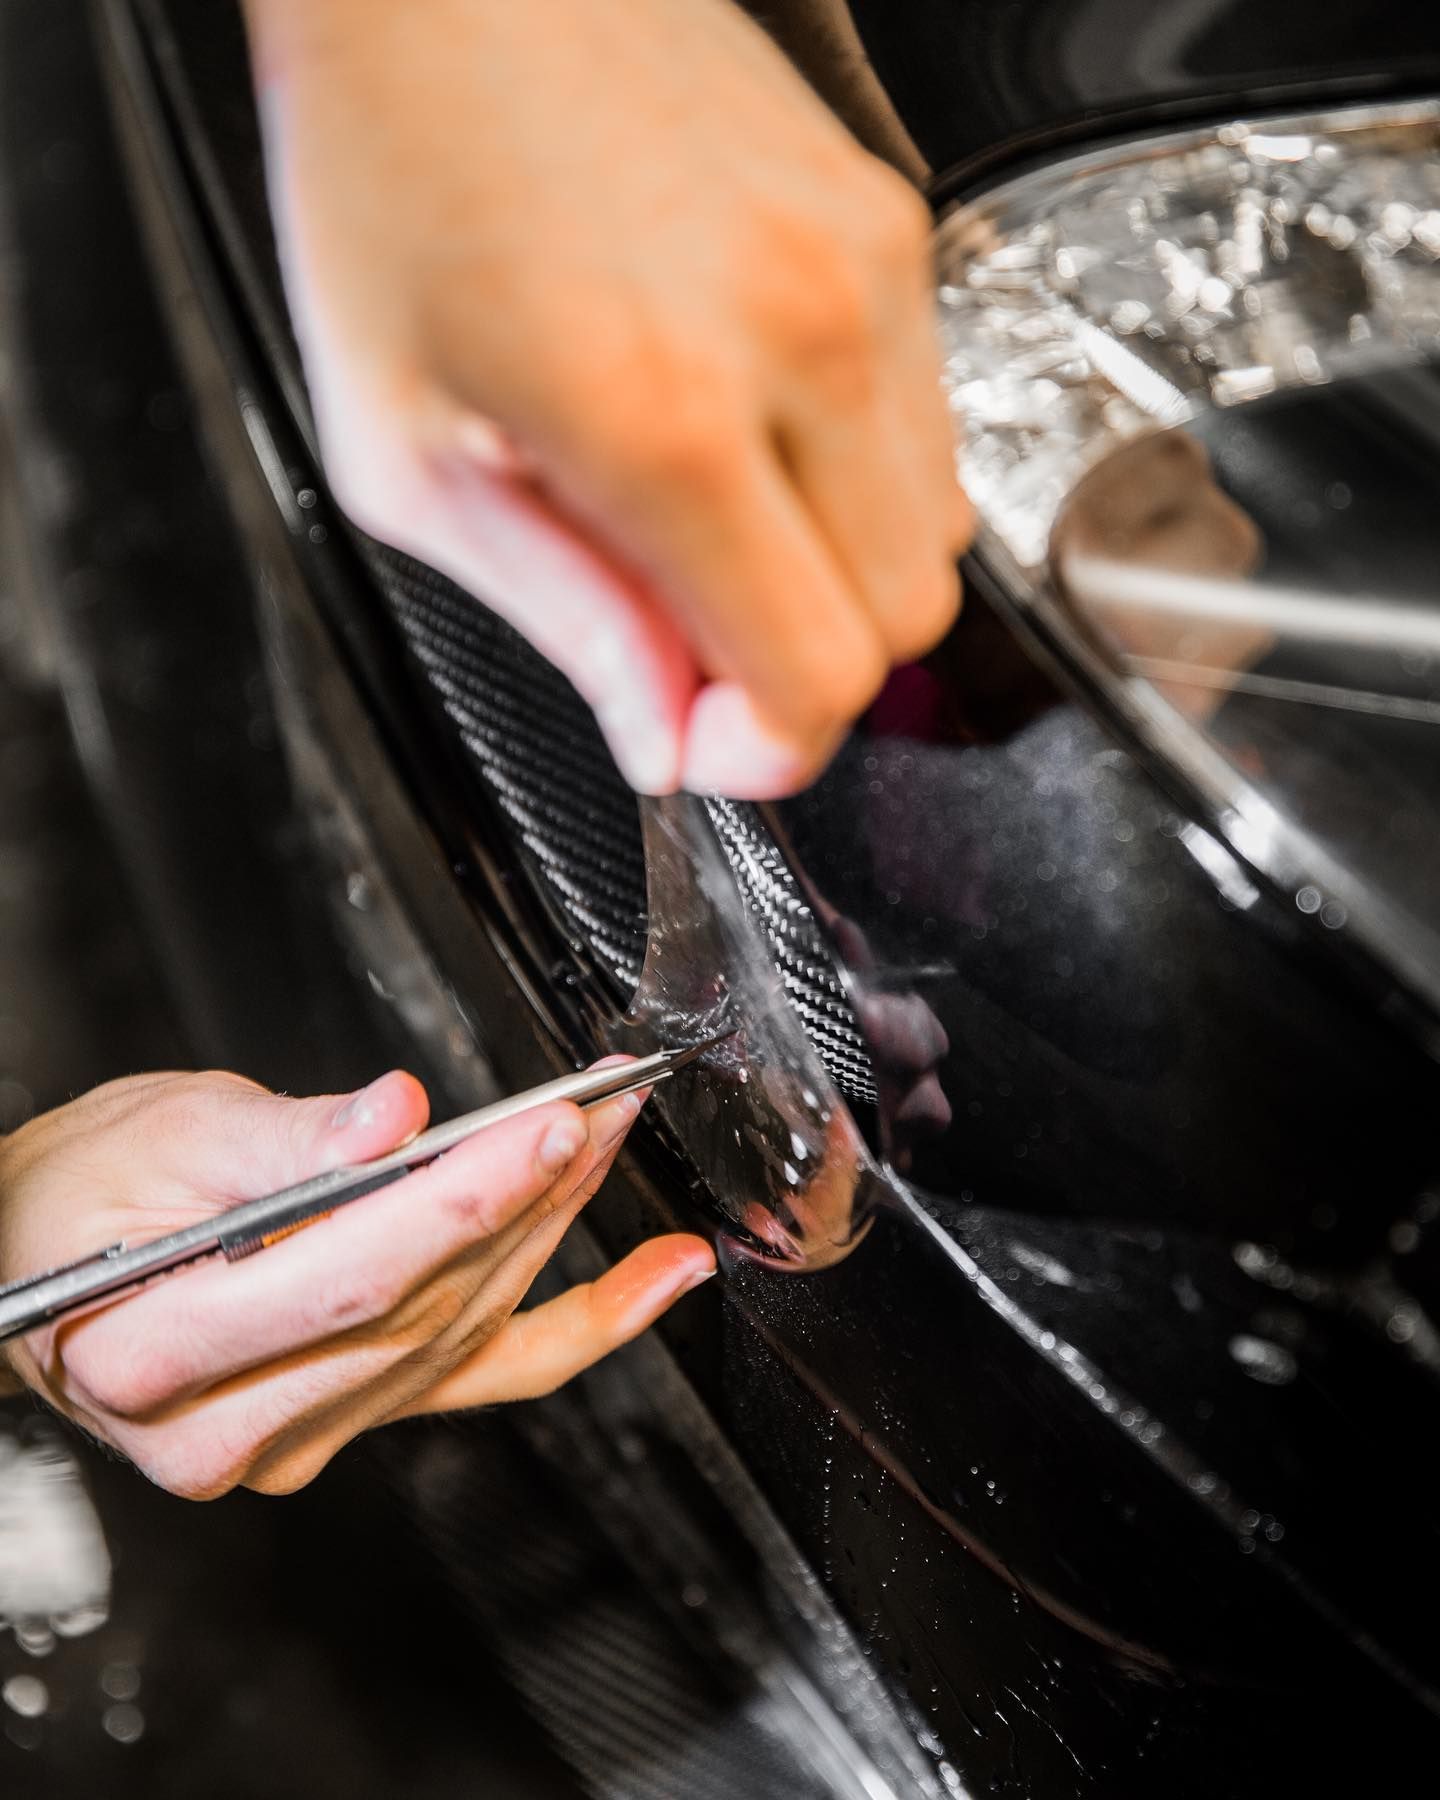
The main challenge with DIY applications is preparation and technique. Applying ceramic coating isn't just about applying a product to your car’s paint. It requires meticulous surface preparation, including washing, decontaminating, claying, and sometimes even polishing to remove all imperfections and contaminants. Without this level of preparation, any dirt or swirl marks will get sealed under the coating, dulling the finish instead of enhancing it.
Most DIYers don't have access to professional-grade tools or the correction techniques needed for perfect results. Additionally, uneven application or rushing the curing time can lead to streaks or high spots that are difficult to remove later.
Environmental conditions also play an important role in the results. Proper curing requires controlled conditions, such as shade, correct temperature, and low dust exposure, which are difficult to achieve outside a garage designed for detailing. If your driveway is windy or sunny during the application, the product may not bond properly with the paint.
The Advantages of Professional Ceramic Coating
Professional ceramic coating services turn the challenges of DIY applications into advantages through experience and environmental control.
When you opt for professional installation, such as those offered by GlasWerks DMV, you're paying for much more than just the product. Certified installers use premium coatings that are not typically available in retail kits. They also perform thorough Level 3 detailing, which includes washing, clay bar treatment, paint correction (polishing out defects), and wiping down surfaces with solvents like isopropyl alcohol to ensure a perfect surface that bonds properly with the coating.
This in-depth preparation greatly increases coating durability and appearance. What may take a DIYer hours of work over several attempts can be completed efficiently by professionals in just one or two days.
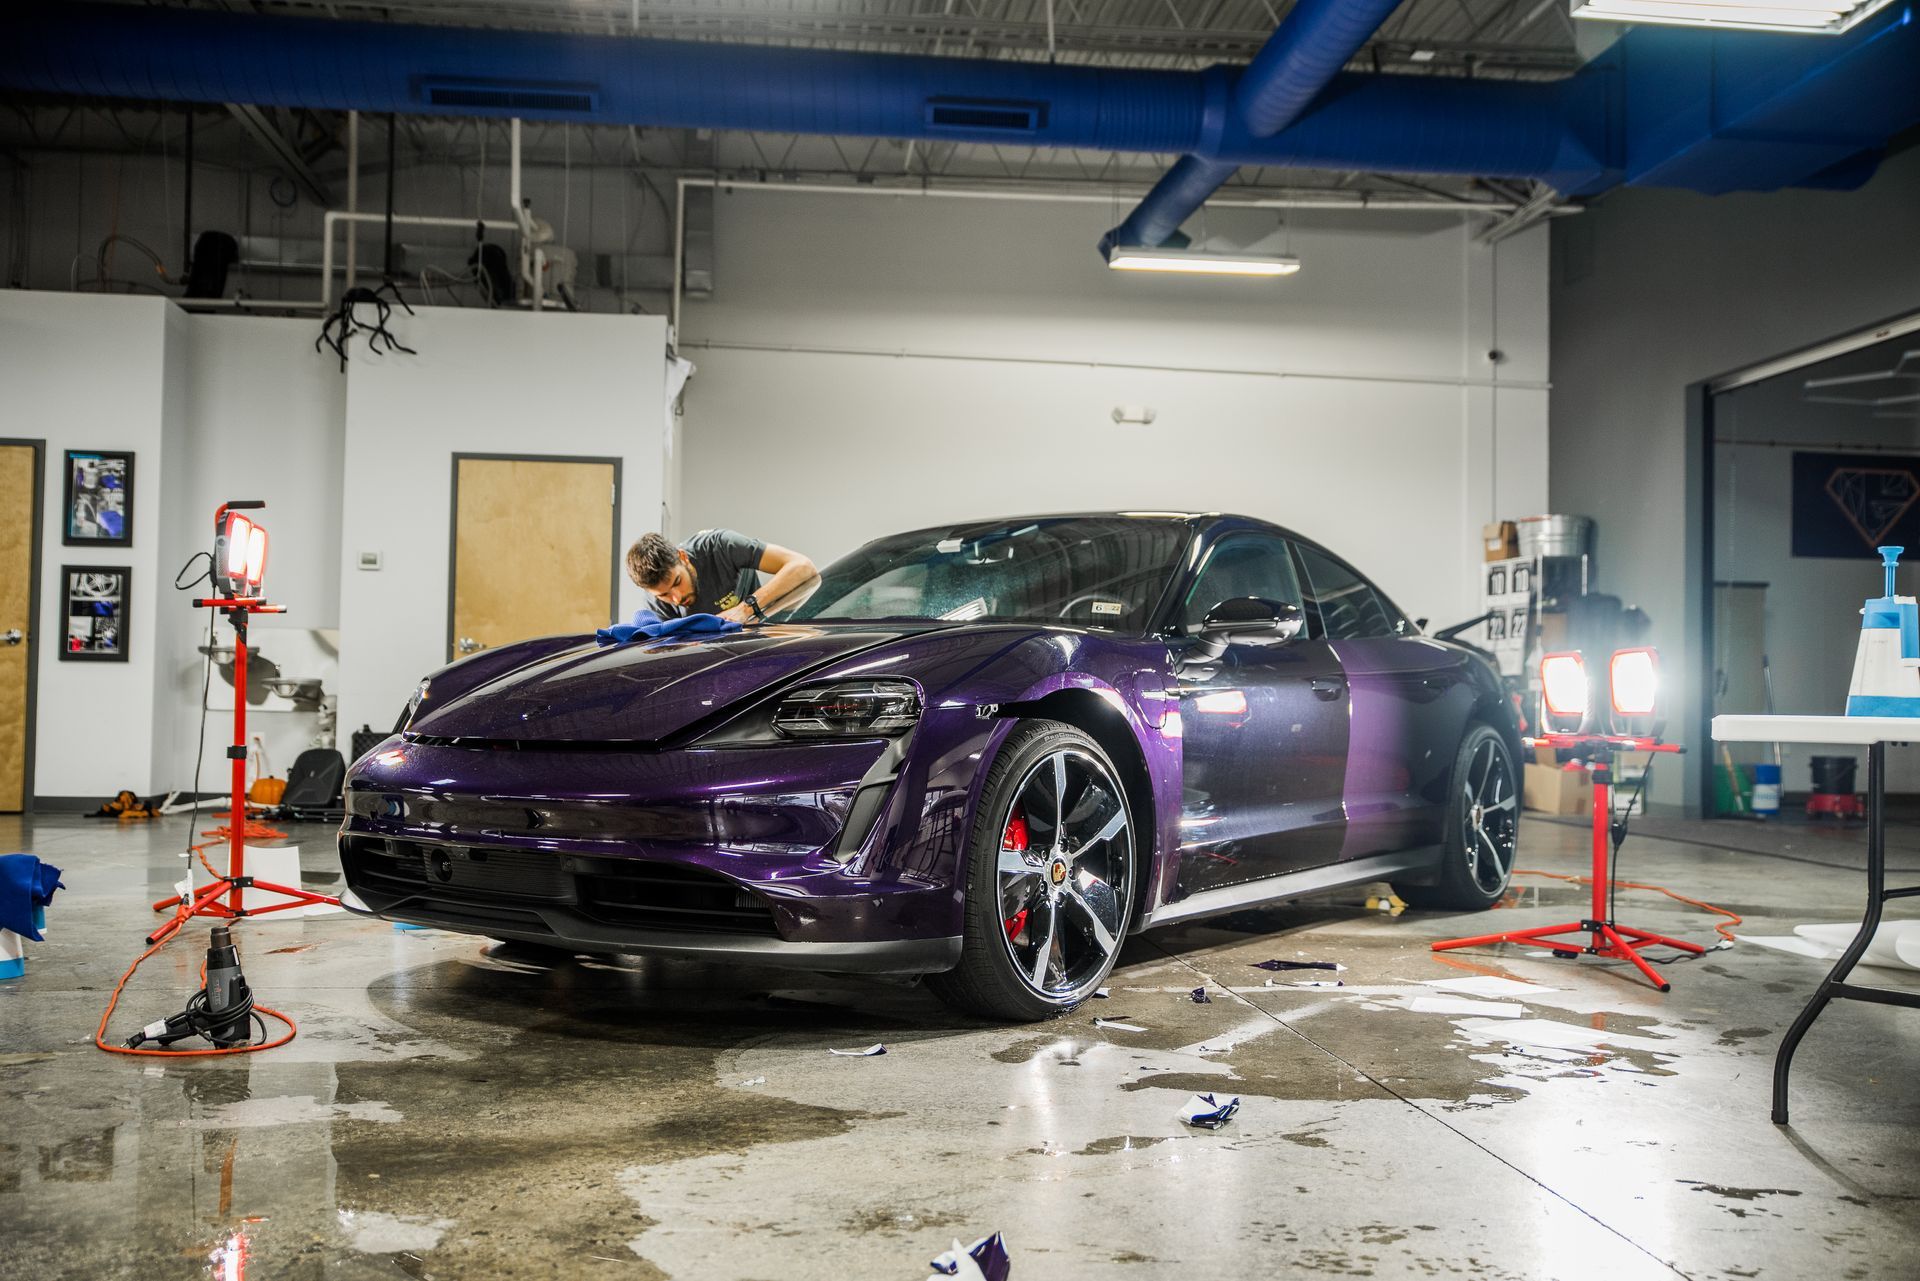
Moreover, professionals apply coatings in climate-controlled facilities that are optimized for curing. This controlled environment prevents premature bonding issues and ensures a smooth, glossy finish that lasts.
In addition to expert application, professionals provide warranties that cover years of protection. These warranties, which are not offered with most DIY products, demonstrate confidence in the workmanship and materials used, as well as the maintenance plans provided by professionals.
| Aspect | DIY Kits | Professional Application |
|---|---|---|
| Cost | $50–$150 | $500–$2000+ |
| Surface Preparation | Limited to owner's skill | Full Detail & Paint Correction |
| Product Quality | Consumer-grade | Industrial-grade |
| Application Environment | Uncontrolled | Climate-Controlled Workshop |
| Durability | 1–3 years | 5–10 years+ |
| Warranty | Rare | Common (2–5 years) |
| Risk | High (uneven finish & bonding failure) | Low (expertise ensures quality) |
As you can see, while DIY ceramic coating may seem tempting due to its lower cost, it comes with higher risks and potential for a less durable finish. Professional services ensure that the job is done correctly from the start, resulting in longer-lasting protection and a flawless finish.
The Essential Preparation Steps
Whether you choose to tackle ceramic coating yourself or hire a professional, proper preparation is crucial. Skipping these steps, especially for DIYers, can result in a coating that doesn’t adhere properly, leading to premature failure or an uneven appearance. Below are the key steps in preparing your car for ceramic coating:
Step 1: Thorough Washing
Start with a meticulous wash using a pH-neutral automotive shampoo designed to effectively remove dirt, oils, road grime, and other contaminants. A proper wash can take 15 to 30 minutes for an average car. Rushing this step can trap debris beneath the coating, which will undermine the durability and gloss.
Step 2: Claying the Surface
Once your car is clean, the next step is claying. This critical step involves using a clay bar kit to remove bonded contaminants that washing alone can’t eliminate, such as tree sap, brake dust fallout, tar spots, and industrial pollution. Claying creates a glass-smooth finish that helps the ceramic coating bond effectively with the surface.
Step 3: Polishing
Polishing removes swirl marks, light scratches, and oxidation, which can dull the paint. Professionals use dual-action polishers and compounds to achieve consistent results, something that’s difficult to accomplish with hand polishing. Achieving a flawless, glossy surface directly impacts how well the ceramic coating bonds with the paint.
Step 4: Isopropyl Alcohol Wipe Down
Before applying the ceramic coating, the surface should be wiped down with an isopropyl alcohol (IPA) solution to remove any oils or residues from the previous steps. This ensures perfect adhesion for the coating. Any leftover oils can create a barrier, preventing the coating from bonding properly.
Choosing the Right Ceramic Coating Kit
If you decide to go the DIY route, selecting the right ceramic coating kit is essential. Look for a reputable brand that offers reliable products backed by solid customer satisfaction and research. Avoid the cheapest options, as these may not provide the level of protection you expect.
Kits that are easy to apply come with comprehensive guides and tutorials to reduce the chances of mistakes. Some even include prep liquids, applicator pads, and gloves to ensure that you have everything you need to apply the coating properly.
Why Choose GlasWerks DMV for Your Ceramic Coating Needs
When it comes to ceramic coating, don’t settle for anything less than the best. GlasWerks DMV offers expert ceramic coating services, with thorough surface preparation, high-quality products, and long-lasting results. Our team ensures that your vehicle’s paint is perfectly prepped and protected in a controlled environment, giving it a flawless finish that lasts for years.
Contact us today at (571) 370-8500 or visit our website to schedule your consultation. Let us help you preserve your vehicle’s beauty and value with the best ceramic coating services in the DMV area.
Protect your investment — trust GlasWerks DMV for all your vehicle care needs.